

Hey everyone 👋! In this article, we will demonstrate how you can with just three lines of code ease the process of web 3.0 wallet authentication. But, before that, you need to learn about web3 authentication and some important terms related to it. So, let's dig in! 👀
Everything you need to know about web3 authentication 🔥
What is web3 authentication? 🤔
Web3 authentication is nothing but simply a login tool. In web2, we use email and passwords for user authentication but in web3 it utilizes users' crypto addresses. However, cryptography that ensures the safety of blockchain networks and users is a lot more complex. Thus, manually logging in would require dealing with private key pairs that are public, which is not at all user-friendly. Fortunately, there are many reputable hot crypto wallets that come in the form of browser extensions and mobile apps. Also, aside from handling and storing cryptocurrencies, these wallets can be used as Web3 authentication tools.
Why do we need web3 authentication? 👀
Whether a user is interacting with a DeFi protocol or wants to dive deep into the metaverse via blockchain gaming, Web3 authentication is an absolute necessity. Without the ability to login users to the blockchain, your Web3 apps will most likely fail. However, allowing users to log in to the Web3 realm provides life-changing opportunities, especially for early adopters. Therefore, if you aspire to become a blockchain developer who wants to create highly profitable next-level dApps, you should know how to implement Web3 authentication. Initially, this might seem like a daunting challenge but it's not. Here comes Onec which saves all the hassle to incorporate web 3.0 based wallet authentication with just a few lines of code. Not only that Onec SDK integrates the Onec User model into the application, thus you can save the hassle of maintaining user-DB. It helps developers to implement Web3 authentication in minutes and in turn, they can easily login users to the blockchain.
Web3 websites and applications run on or at least offer users to interact with specific blockchains. Thus, there must be a safe way for users to connect to those particular crypto networks. By using Web3 authentication, users are able to connect to a selected network. Once authenticated, they have a green light to interact with other authenticated users on that network. As such, every Web3 dApp needs this kind of authentication.
What is an SDK? ✨
SDK stands for "Software development Kit". It refers to a set of tools or items that particular software development requires. This includes the kit pieces, assembly instructions, the tools needed to put the pieces together, etc.
Essentially, a proper SDK provides a developer with a set of tools, libraries, code samples, processes, relevant documentation, and specific guidelines. All of which enable developers to create software applications (dApps in our case) on a specific platform.
Furthermore, SDKs are essentially the origination sources for basically every program a user interacts with. This includes web browsers to video games, and more or less everything in between.
What is an API? 🚀
API stands for “Application Programming Interface”. An API is an interface that enables software to interact with other pieces of software. It enables different instruction sets to be translated or transferred for mutual understanding. Furthermore, APIs allow for consistency (or consistent coding) in a stable environment. That way, all replicable functions can be delivered consistently and with predictability on every request.
For instance, a simple piece of software, such as a browser, uses various API sets. That way, it converts users’ commands into functions, requests data from servers, renders that data into a proper format for the user, validates the performance of their requests, and much more. Web APIs have a slightly different function – they allow for interaction among disparate systems, typically for specific use cases. A web API is essentially a set of instructions (just like the PC API); however, it’s based in the web sphere. For example, you may be familiar with the Onec-APIs from my previous blog post, which allows you to mint an nft in mere minutes.
API vs SDK 🦄
Put simply, SDKs are superior to APIs. What’s interesting, though, is that an SDK often contains APIs. A good analogy is offered by looking at squares and rectangles. You surely know that the concept of “rectangles” can include both rectangles and squares, while “squares” only include squares. In this case, SDKs are rectangles and APIs squares. As such, every time an SDK is used to create an app that has to communicate with other apps, it surely includes an API for that purpose. In case you’re not much of a geometry fan, you can view the SDK as the house and all of its content, while the APIs are the telephone lines allowing for communication in and out of the house.
Onec-SDK 🎊
Prerequisites ✅
- Install onec-sdk by following the instructions given on this site. Just do the installation part and rest we are going to cover below.
- Git installed
- Node.js installed
- A wallet installed on your browser. If you do not already have a Web3 wallet, you can install one from metamask by following the directions on its site.
STEPS 🛠️
- Head over to this github-repo and fork it to your account.
- Clone it to the local machine.
- Go to the installed directory from cmd.
- to install the node modules, type
npm i --save
- to run the app
npm start
served at https://localhost:3000
Visual breakdown of steps 🥳
I'm assuming you've already done the forking, cloning, and installation part. Now, let's run it and understand how the code is actually working.
Run the app by typing npm start.
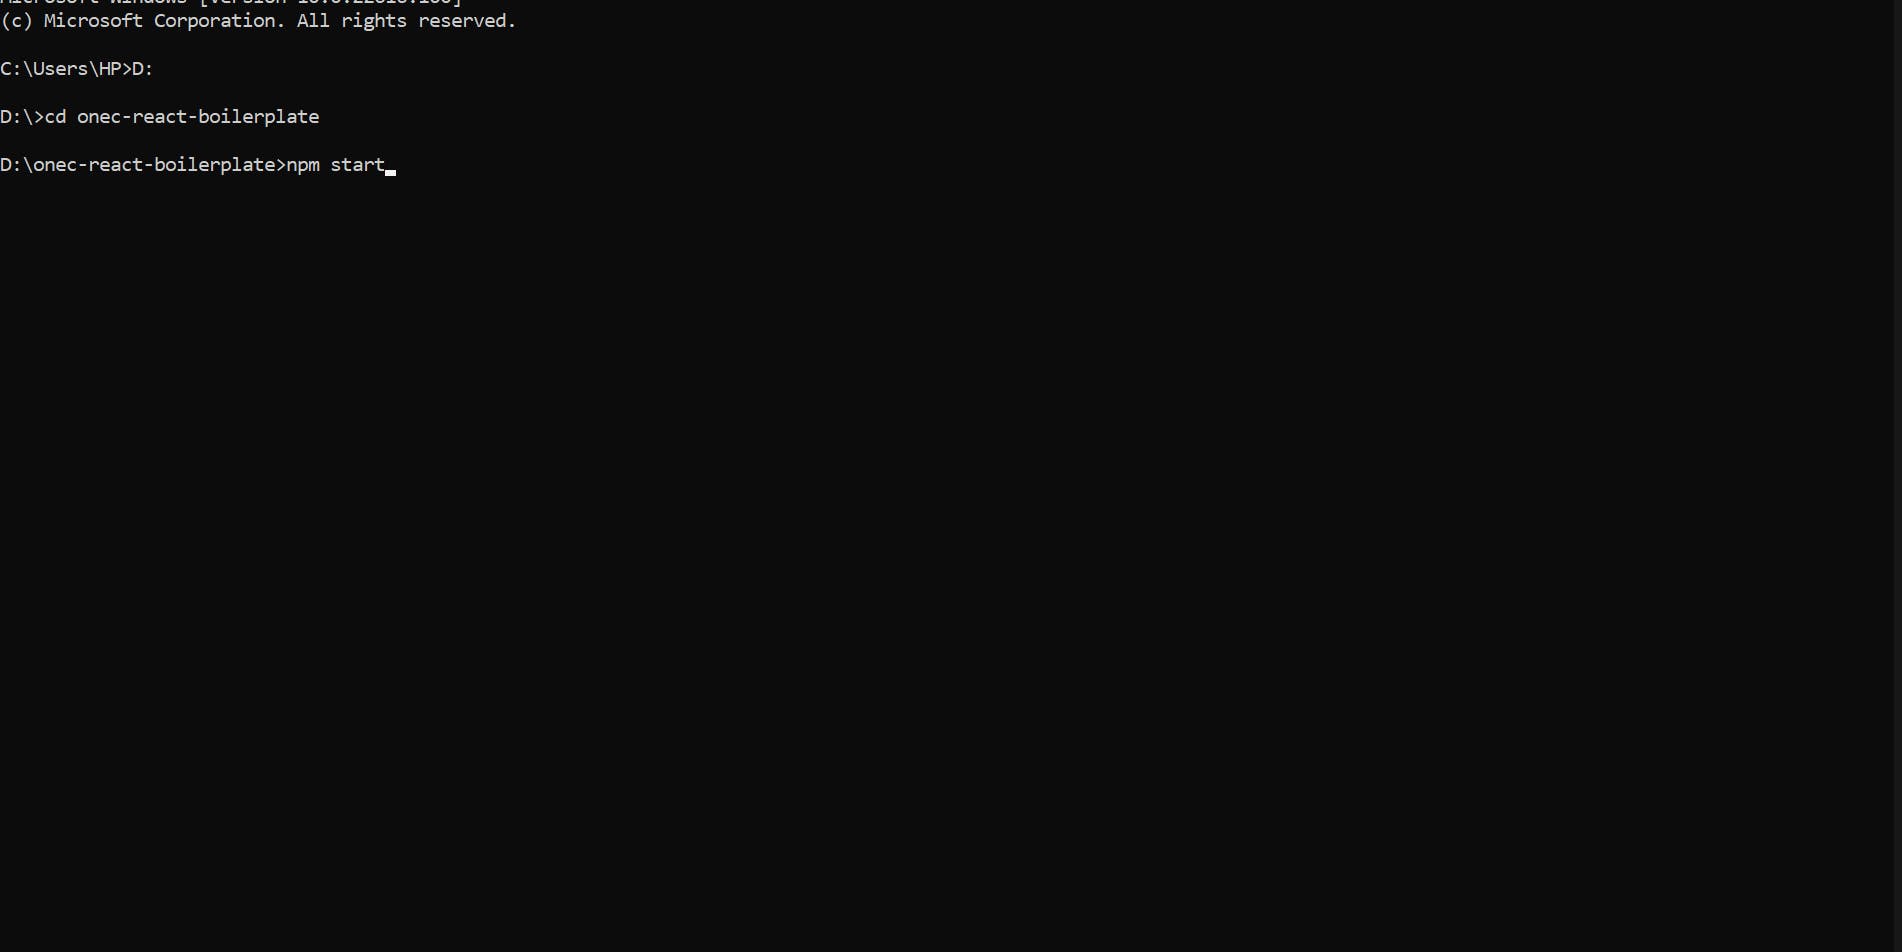
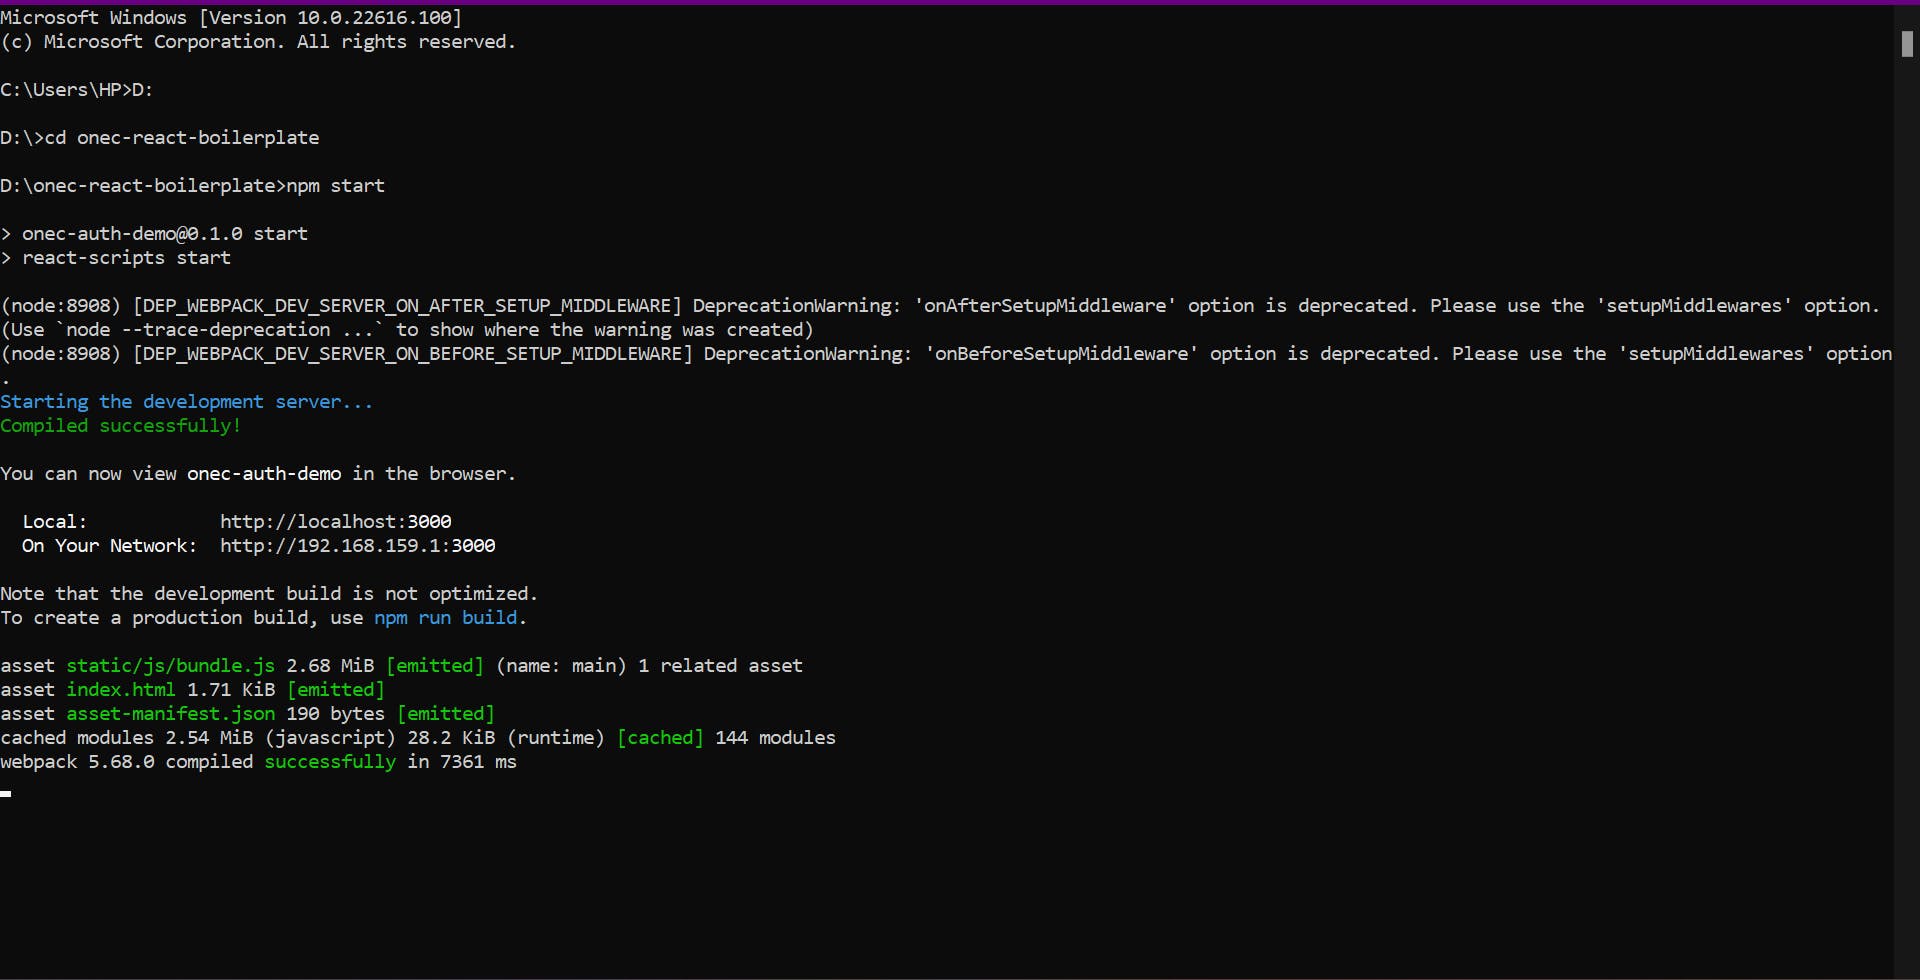
It will take hardly two minutes to run for the first time if there are no errors in the installation of node modules and, it will pop up to localhost:3000.

- Click on the button Login with metamask and if you've installed metamask it'll pop up and ask you for the signature request.
NOTE -> Onec-sdk also works for WalletConnect if metamask is not installed.
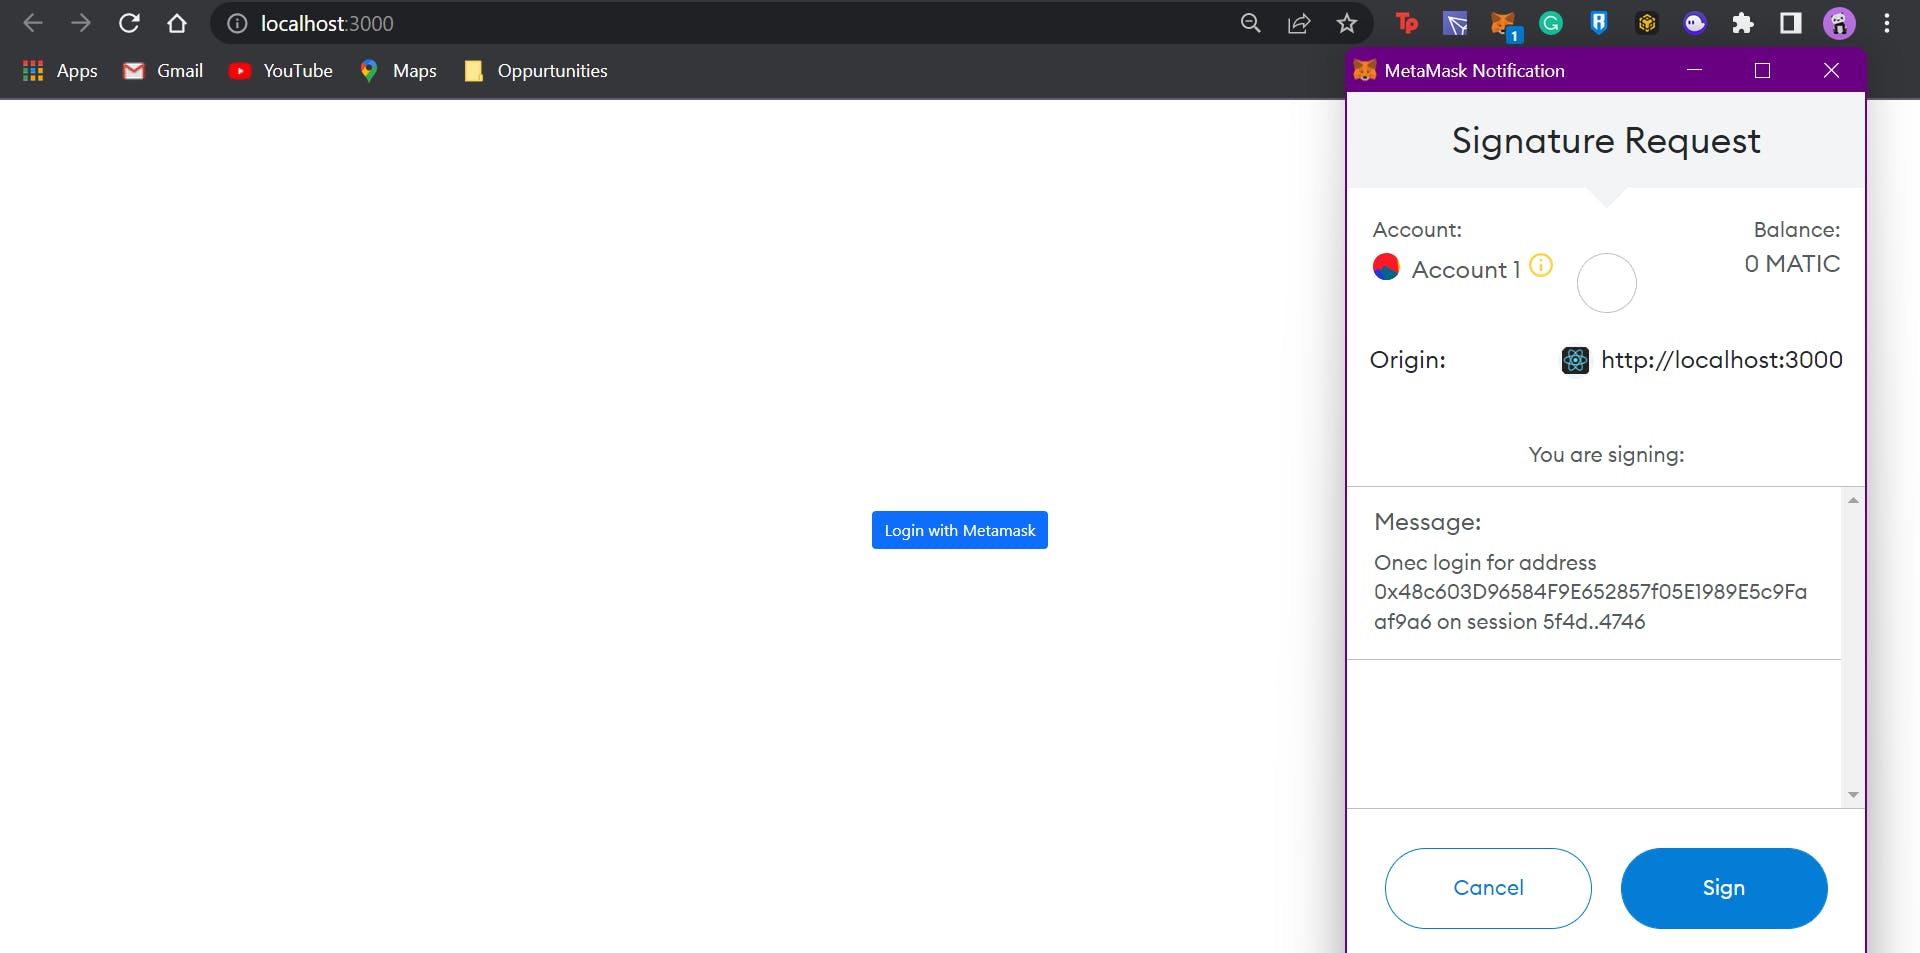
- After signing, it'll show login successful with the wallet public address.
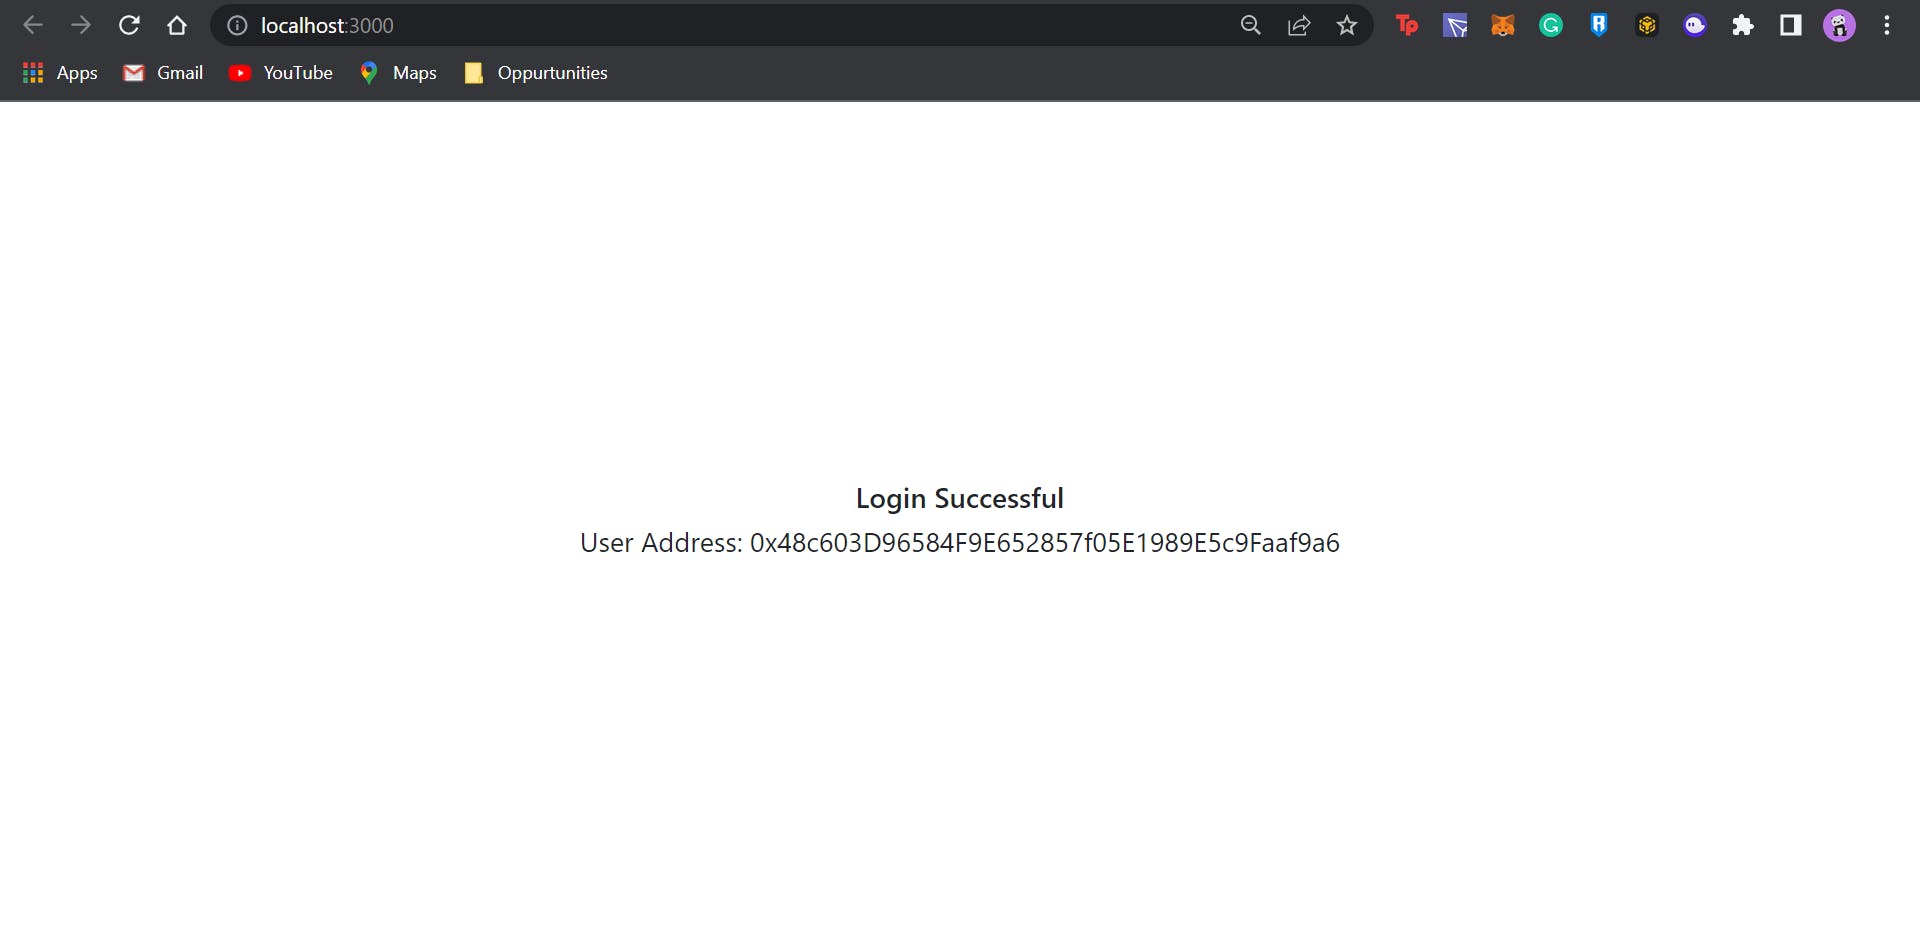
Huraah!!! You've successfully connected your wallet to the app. But, how it is working? Let's see how Onec ease the process of authentication with just two lines of code.
- Open your preferred code editor from the root of the cloned project directory.
- Under the src folder go to the components folder and open OnecLogin.js file.
import React from "react";
import Button from "react-bootstrap/Button";
import Onec from "onec-sdk";

class OnecLogin extends React.Component {
    constructor(props) {
      super(props);
      this.state = {
        isLoggedIn: false,
        userAddress: "",
      };
    }
    render() {
      return (
        <div>
            {this.state.isLoggedIn==false ?
          <Button variant="primary" onClick={
            () => {
                Onec.auth.withMetamask().then((response) => {
                    this.setState({isLoggedIn: true, userAddress: response.user.address});
                    console.log(response)
                }).catch((error) => {console.log(error)});
            }
          }>Login with Metamask</Button>:null}
        <div>
            {this.state.isLoggedIn ? <div><h3>Login Successful</h3> <p>User Address: {this.state.userAddress}</p></div> : null}
        </div>
        </div>

      );
    }
  }

  export default OnecLogin;
- We are importing Onec from Onec-SDK which we installed earlier.
import Onec from "onec-sdk";
- And, to implement the wallet authentication via metamask we just used :-
Onec.auth.withMetamask().then((response) => {
                    this.setState({isLoggedIn: true, userAddress: response.user.address});
                    console.log(response)
                }).catch((error) => {console.log(error)});
Here, we are storing the userAddress which is the wallet address, and responding when the button is clicked to check if it's valid or not. If it's valid it'll show login successful if isLoggedIn is true. We don't need any window.ethereum stuff to code it. Everything is handled via Onec.auth.withMetamask(). We just have to import and implement it in our project.
Yes, it's that simple. We just have to add two lines of code and authentication is done.
Upcoming features 🎊
- Improvements in auth object like mechanisms for interacting/updating the User object.
- A new naas class which is a rest-client to connect the web apps with Onec's NaaS Suite.
Conclusion 👋
That's it for this article. I hope y'all got some learnings from this blog post and if you use our products, please share it on socials by tagging us. We'll really appreciate that and if possible we'll share it too from our main channels.